If stuck:
echo 1 > /proc/sys/kernel/sysrq
echo b > /proc/sysrq-trigger
2+
 untony.org
Windows, Linux, Networking, WWW, Troubleshoots
If stuck:
echo 1 > /proc/sys/kernel/sysrq
echo b > /proc/sysrq-trigger
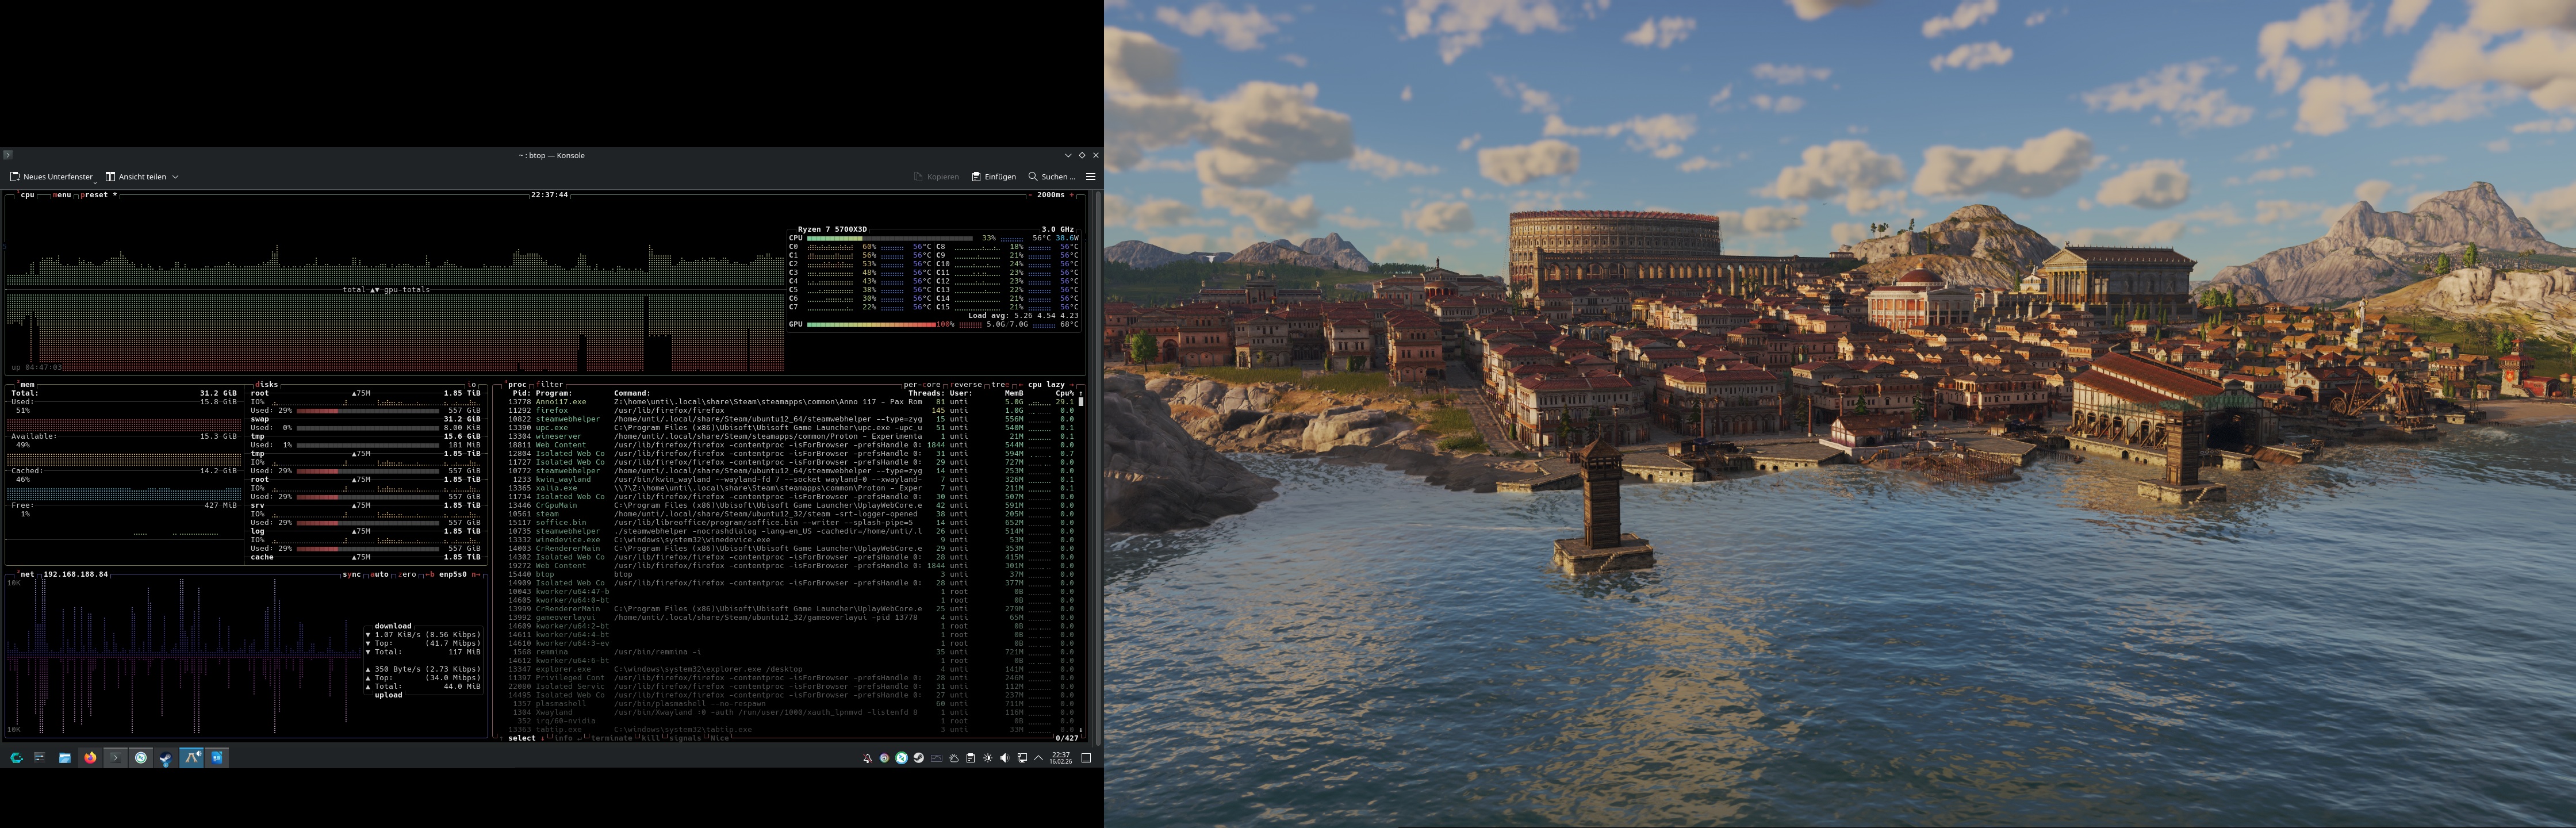
AMD Ryzen 7 5700X3D 16 Threads 4.10 GHz
AMD B450M Mainboard
32 GB DDR4 3200
NVIDIA Geforce RTX 4060 8GB DDR6 (DP, HDMI)
550W AD-Z550 AZZA 80 Bronze Silent Deluxe ATX
2 TB SSD
Cachy OS
As the download Link went offline mRemoteNG-Installer-1.76.20.24615.msi available here.
Faking Mails with cutomized sender:
mail -s "Everything possible" -aFrom:bill.gargantur@iliketobeanemailfaker.com recipient@maildomain.com < /dev/null
*Will be delivered into spamfolder or not delivered cause SPF checks that mailsender is not authorized sender of the maildomain –> only if accurate spamsolution/SPF is implemented on recipient side
Some time ago I set up a Raspberry and expanded the filesystem to 16GB. Unfortunately I wanted to share the Image afterwards. I tried to reduce the size the easy way and succeeded. Procecure was:
– Created the *.img from the SD-Card of Raspberry via Win32Imager (via Read function)
– Copied the big *.img to a USB Stick (32 GB)
– Created Linux Live CD (Linux Mint) and wrote it to a USB-Stick to boot from it afterwards
– of course also plugged in the USB Stick with the img
– mounted the USB Drive and opened a Console and changed the dir (cd) where the image is
After booting into Linux Mint
– I installed quemu utils via
sudo apt-get install qemu-utils
– checked the img via
fdisk -l image.img
I saw that there are 2 partitions holding only 2,1 Gigs so I did
qemu-img resize vdisk.img 3GB
afterwards I wrote the img to an SD-Card and booted it successfully in a RPI3
Alternative would be: https://www.instructables.com/id/How-to-BackUp-and-Shrink-Your-Raspberry-Pi-Image/
A subpage regarding OpenGlider Network soon to come (glider.untony.org)
Script copies UltraVNC to target client (C:\vnc\) and executes UltraVNC with configurable settings. Launches VNC Viewer afterwards and removes VNC (optional).
Requirements and Usage:
- Copy psexec.exe to C:\Windows
- Run the Powershell with Admin-Rights / elevated Console
- User has to be admin on the target and local machine
- Default password = 123
– Save the Script and create a folder on the same level called „UltraVNC“
– Copy UltraVNC Programm Files to the UltraVNC folder
– Run vnc_deploy.ps1 (elevated, user has to be admin on the targeted client)
The ACL part is variable if you use it in an Domain environment. Start uvnc_settings.exe and configure Domain Access with groups or edit the *ultravnc.ini and change to:
[ultravnc]
passwd=000000000000000000
passwd2=000000000000000000
[admin]
UseRegistry=0
MSLogonRequired=1
NewMSLogon=1

And change acl.txt
#PowershellScript vnc_deploy.ps1:

# Administrator Privilige needed for Execution Policy Change
Set-ExecutionPolicy RemoteSigned

write "---------------------------------------------"
write "VNC Remote Access"
write "---------------------------------------------"
write "(1) Connect without permission(1)"
write "(2) Ask user for permission (2)"
$q = read-host "(1/2)"
switch ($q)
{
"1" {
$Hostname_PS = read-host "Enter hostname"
write "---------------------------------------------"
write "Install VNC on remote host"
write "---------------------------------------------"
copy-item UltraVNC\ -dest \\$Hostname_PS\c$\vnc -recurse
write "Assigning Config"
copy-item \\$Hostname_PS\c$\vnc\NOprompt_ultravnc.ini -dest \\$Hostname_PS\c$\vnc\ultravnc.ini -recurse
psexec \\$Hostname_PS C:\vnc\winvnc.exe -service loadinf=C:\vnc\NOprompt_ultravnc.ini
write "VNC copied to $Hostname_PS "
write "---------------------------------------------"
write "Assign security settings"
psexec \\$Hostname_PS C:\vnc\MSLogonACL.exe /i /o C:\vnc\acl.txt
write "starting VNC service"
psexec \\$Hostname_PS C:\vnc\winvnc.exe -install
start-sleep -s 5
write "---------------------------------------------"}
"2" {
$Hostname_PS = read-host "Enter hostname"
write "---------------------------------------------"
write "Install VNC on remote host"
write "---------------------------------------------"
copy-item UltraVNC\ -dest \\$Hostname_PS\c$\vnc -recurse
write "VNC copied to $Hostname_PS"
write "---------------------------------------------"
write "Assigning Config"
copy-item \\$Hostname_PS\c$\vnc\prompt_ultravnc.ini -dest \\$Hostname_PS\c$\vnc\ultravnc.ini -recurse
psexec \\$Hostname_PS C:\vnc\winvnc.exe -service loadinf=C:\vnc\prompt_ultravnc.ini

write "Assign security settings"
psexec \\$Hostname_PS C:\vnc\MSLogonACL.exe /i /o C:\vnc\UltraVNC\acl.txt
write "Starting VNC service"
psexec \\$Hostname_PS C:\vnc\winvnc.exe -install
start-sleep -s 5
write "---------------------------------------------"}}


write "Connecting to $Hostname_PS"
& UltraVNC\vncviewer.exe -connect $Hostname_PS -quickoption 7
write "---------------------------------------------"
write "---------------------------------------------"
write "---------------------------------------------"
write "---------------------------------------------"
$Pause = read-host "Enter any to uninstall VNC"
write $Pause
psexec \\$Hostname_PS C:\vnc\winvnc.exe -uninstall
start-sleep -s 5
Remove-Item \\$Hostname_PS\c$\vnc -recurse
write "---------------------------------------------"
If you dont want to login with password everytime or you want to use autossh then you should think about Key Login or Key based authentication in SSH.
Generate SSH-Key:
ssh-keygen
by default they are saved here
/home/pi/.ssh/
pi@pi:~/.ssh $ ls -lart
insgesamt 16
drwxr-xr-x 20 pi pi 4096 Jän 3 18:47 ..
-rw-r--r-- 1 pi pi 390 Jän 3 18:47 id_rsa.pub
-rw------- 1 pi pi 1679 Jän 3 18:47 id_rsa
drwx------ 2 pi pi 4096 Jän 3 18:47 .
show content of generated file:
more id_rsa.pub
ssh-rsa AAAAB3NzaC1yc2EAAAADAQABAAABAQDUs8HxOGrMjM72cf6vv952/qxZ3nOG+BJ9JRCF1JWX6c
JZiHQxce9gz/IZv02G5QL6KbPA5oy5bvNv7LFe25erFLle4rbixiCdKyQ3YjiJquz3R/9oMXYkF/HfJVE
GIYcSgXVF/oRBJbTiSZfG3ryiWgcqPu9zDNHtYHxLcwrzfffYIerDjR86TzXLux9Q+1WUz0MKV6nw5/
I/y9MF7dSo194J2H0qZhlbyf3QYZmC1b94YD7zAz6cayK3iIX1Q/Dra7OqD4v+jdkpkgpiyr1XoKodPo
RPQEYZHgKulwZpl71lqtOv+/oSyW+g+QomvbRXu9PqbXtbRThNQw4YfpiN pi@pi
Copy to remote machine (where you want to login without password)
vi /user/.ssh/authorized_keys
copy the content inside of this file.
SSH Connection to the host should now be possible without using password.
Makes also AutoSSH possible:
autossh -R 20000:localhost:22 root@domain.com
to connect from the other side:
ssh -p 20000 pi@localhost
vi /etc/networking/interfaces
auto eth0
iface eth0 inet static
address 192.168.0.99
netmask 255.255.255.0
gateway 192.168.0.1

sudo systemctl disable dhcpcd
sudo systemctl enable networking
reboot
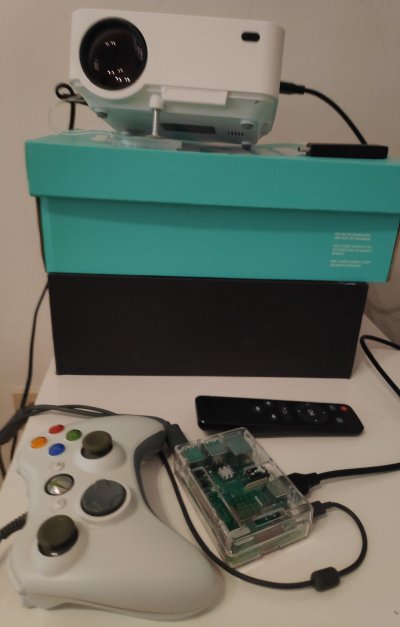
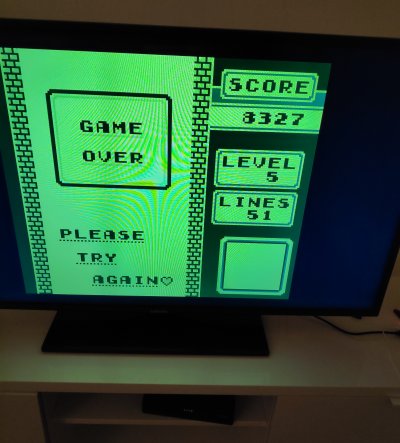
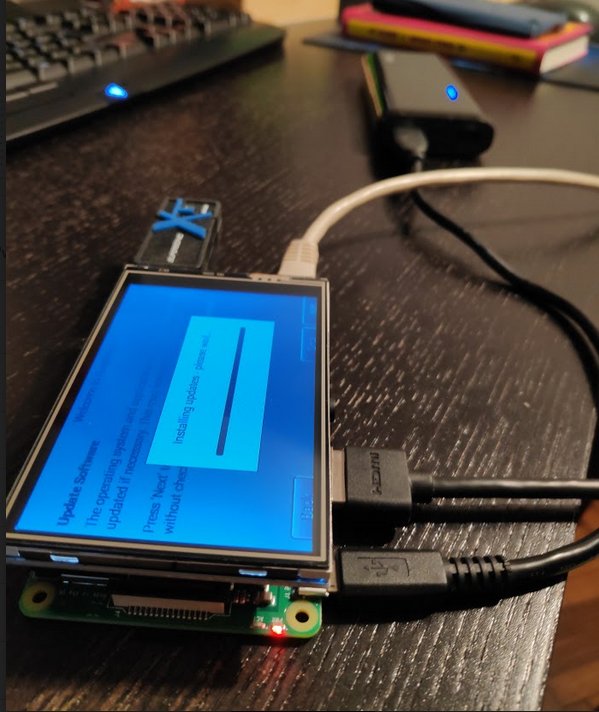
Recieved 2 additional Raspis and couldnt’stop setting them up unfortunately the display ordered was broken so i didnt build the mobile RetroPi. So I tried it with my cheap china beamer:


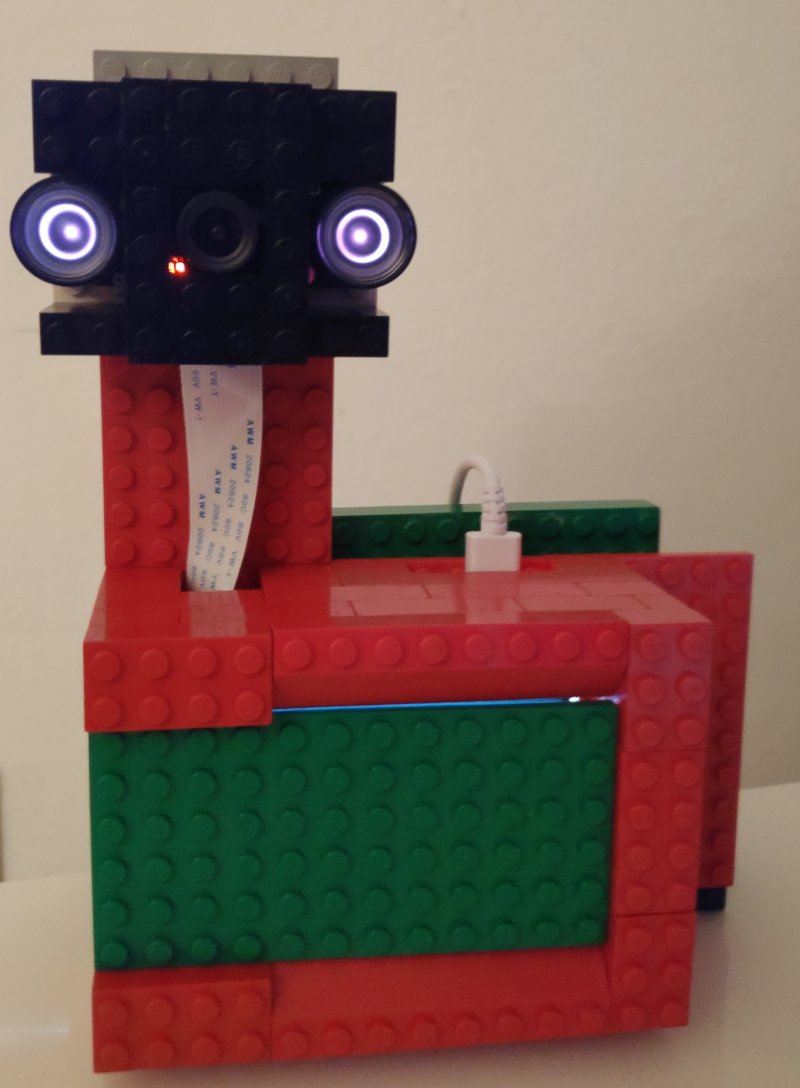
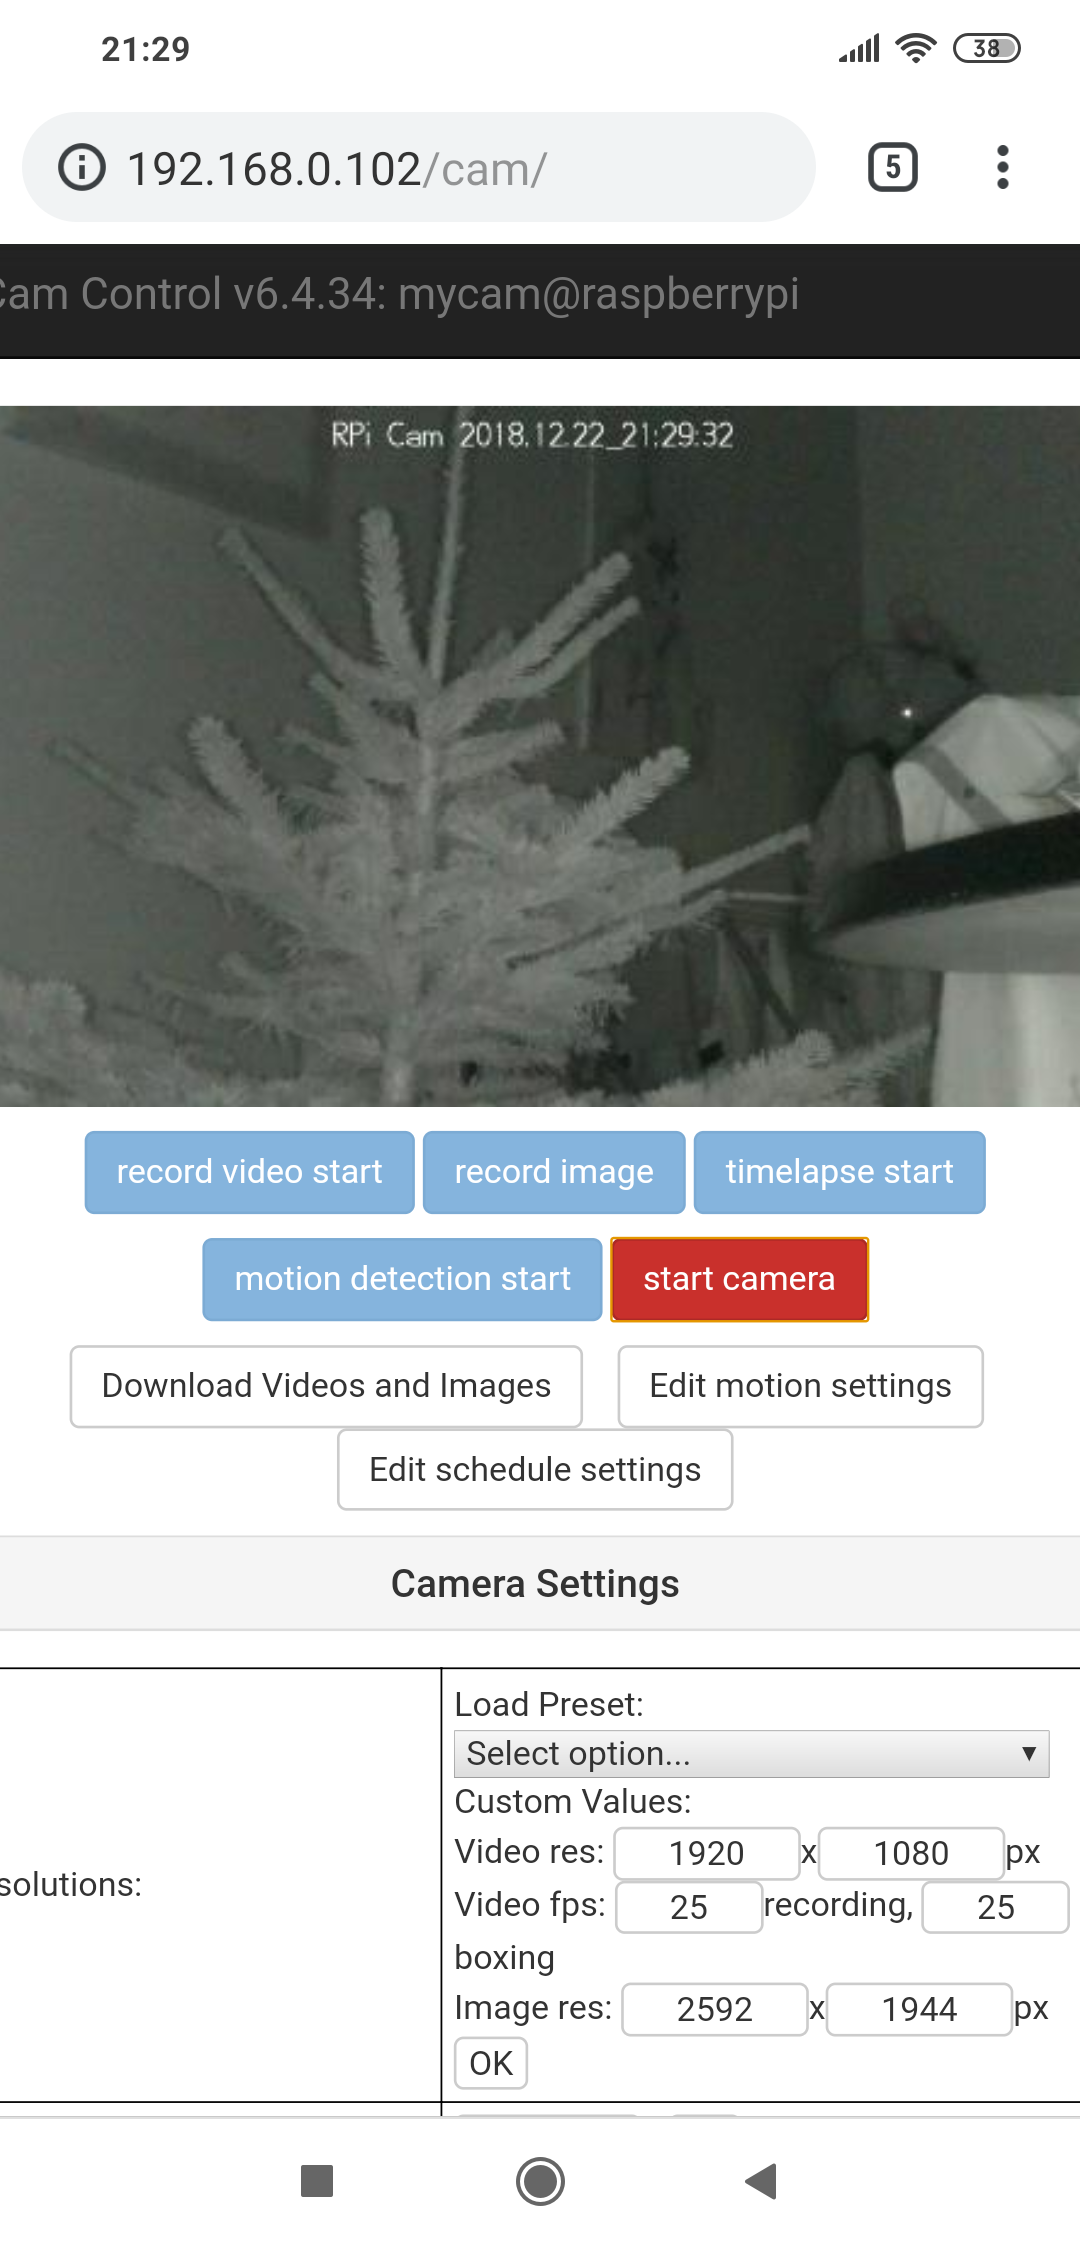
Longrunner Cam with Raspberry and self build Lego Case.
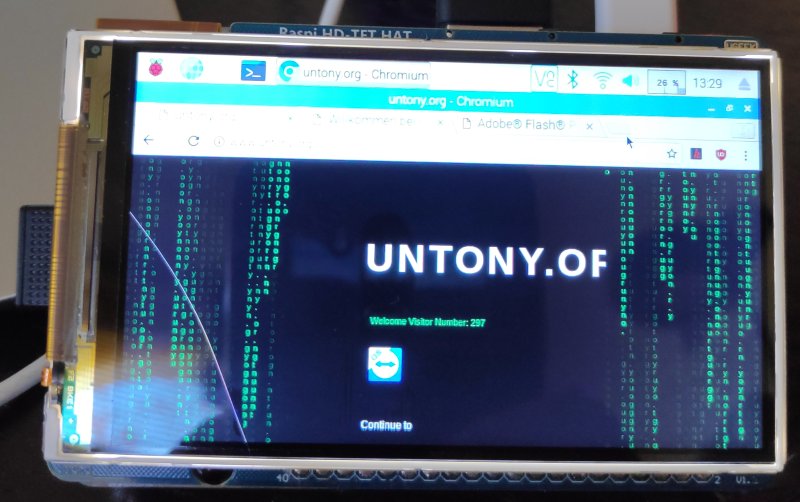
Unfortunately broken display (Raspi HD TFT Hat 800×480).
But a 10″ touch screen and case arrived